Linux and Windows are two of the most frequently used VPS operating systems. Sometimes, a few errors within their script may cause a failure. In this tutorial, we will tell you how to Recover Files from Corrupted Linux or Windows VPS.
If, for any reasons, the Operating System, whether Windows or Linux, does not load on your VPS server, you can follow this guide on how you can load the VPS into the Rescue Mode and grab your files off the server before you format your VPS and install a new Operating System on it. This tutorial will tell you how to recover files from corrupted Linux or Windows VPS. To do so, follow the following steps:
First, please confirm that the Operating System does not load by connecting to the server via VNC and Reboot the VPS from your control panel a couple of times.
Most of the corruptions happen in Windows VPS servers, so we have written this guide around Windows VPS servers, but the same steps work for other Operating Systems as well.
Step1:
First, log in to your Control Panel from: https://billing.netcy.com/clientarea.php
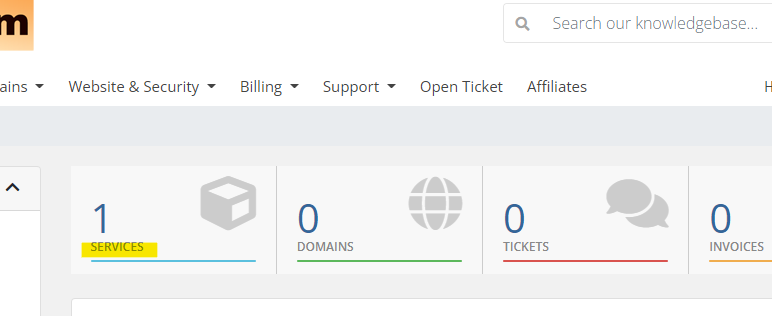
Then click on ‘Services‘.
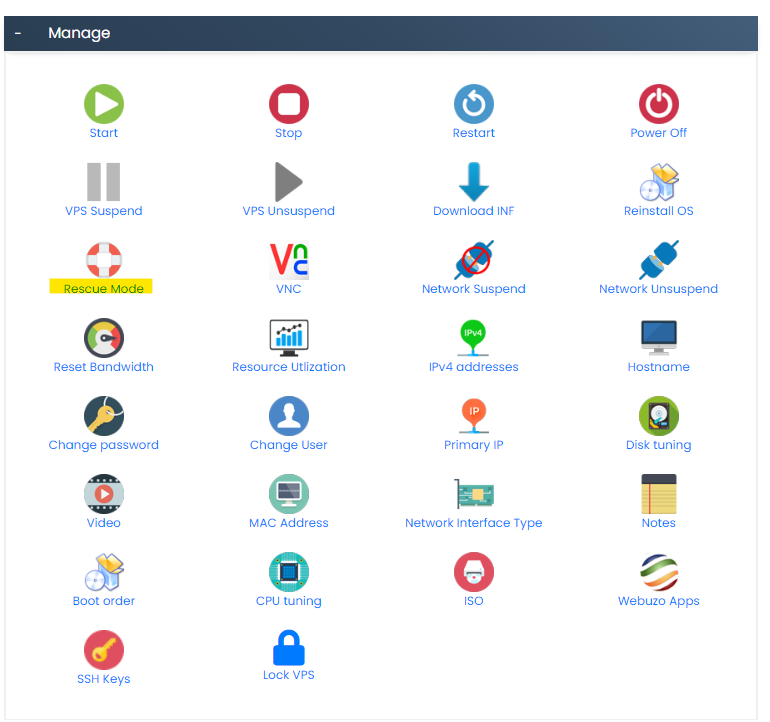
Step2:
Choose the ‘Rescue Mode‘
Step 3:
Pick a password for the Rescue Mode. Then, click on Enable Rescue Mode.
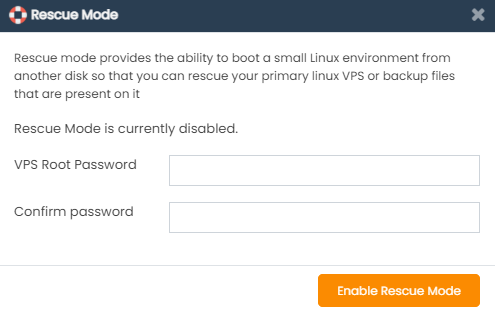
Wait until the server reboots into Rescue mode.
In this step, please wait 2-5 minutes. Then, refresh the page and you will see this message:
Rescue Mode is currently enabled.
Now the VPS is loaded into the Rescue Mode. The Rescue Mode is Linux based utility for grabbing your data out of the server.
Step 4: Connect and Transfer the data
To transfer the data you have to download WinSCP software, which is used for transferring files between Windows and Linux Operating Systems.
A) Download WinSCP.
B) Install the software and run it
- Insert your VPS’s IP address into ‘Host Name:’
- Enter ‘root’ in the Username field.
- Enter the password that you had chosen when you enabled Rescue Mode.
- Click on ‘Login‘
- Press ‘Ctrl + ‘T‘ keys to open the Terminal, then click ‘OK‘ on the warning message so a Terminal window opens.
Now, type the following code on ' Enter Command' section:
mount -o ro /dev/vdb1 /mnt
Press ‘Enter‘ or click on ‘Execute‘
Now the Windows hard drive is loaded into the Rescue Mode. It is time to go and find your files located on the drives and transfer them to your computer.
Step 5: For this step, do the following:
- Click on the right pane then press ‘Ctrl + O‘ so the Open Directory windows will pop-up. Write ‘/mnt‘ like in the following picture and click on ‘Ok‘
- Now you can see the root page of your Windows drive.
Step 6:
Now you can go to the folder/location where you have stored your files. and right-click on files/folder and click on download to download them onto your computer.
Some of the common locations you may have stored your files are:
/mnt/Users/Administrator/Desktop /mnt/Users/Administrator/Downloads /mnt/Users/Administrator/Documents
After you have downloaded all the files/folders you were looking for, please go back to the VPS control panel and click on ‘Rescue Mode’ then click on disable and press ‘OK’
Now you can re-create the VPS by reloading to your desired Operating System.
